Wednesday, January 28, 2015

Seagull Along The Shore

We are starting this painting in class. 
This is the photograph I used for my painting that I took at Jones Beach in New York in the winter time.

 First I masked out the seagull.  Then I was able to do a wash over the whole picture.  I started wet on wet and used cerulean blue with a little quinacridone rose in it.  Be careful  not to add too  much rose!  While still wet I dropped in some color for the sand underneath.  I used a mix of cadmium red and raw sienna.....for some darker areas I mixed in some cerulean blue to tone it down a bit.  Then I added some quinacridone rose in places in the upper left of the seagull and a bit to the right bottom.  If your painting is not dark enough, proceed to do the wash over again until you get the value you want.  Be careful not to make it too dark or else the bird will get lost.  You have to make the value of the bird darker than the water and if the water is too dark, the bird would have to be way too dark to show.

 Now we can add some of the ripples in the water after everything has dried.  I used the same colors of cadmium red and raw sienna and did add a little bit of cerulean blue to it.  I made it really watery and applied the paint very loosely.  By  holding the brush handle further down the handle and not as close to the ferrule, you can obtain a looser stroke.  Also be careful of the angle of the ripples.  If they slant to much upward then it starts to look like rain!  

I made the color a little less watery for the reflection of the seagull ....it's a darker shade there.  I also added a bluer ripple of cerulean blue and burnt sienna.  Don't make it too dark, though.  

I put in the bluish shadow of the seagull using Thalo blue.  The darker blue lines in the shadow I mixed thalo blue with some maroon perylene.  When it was dry, I lifted the highlights out with a slightly wet brush and blotting.

 Now it's time to work on the seagull.  You can remove the masking and put the details of the bird on the paper by transferring the details with tracing paper.  

There is reflective light from the water and sand showing on the underside of the bird.  I painted the breast of the bird wet on dry using ultramarine blue mixed with quinacridone rose and raw sienna.  Drop in yellow ochre and quinacridone rose in place where you see reflected light such as under the beak area and just above the legs.  I went over this a few times to get the right value.  After it was dry, I wiped out a few highlights with my brush above the left leg.  After it all dried, I scrubbed with a soft brush the hard edge formed between the shadow and the white part of the bird.  If you feel you would like to add some Thalo blue to parts you can.  I did but very lightly in areas on top of the head.

Now to finish the rest of the seagull.  Once you add the nice gray and black details of the back feathers, it will start to look like a seagull!  I achieved the gray by mixing thalo blue and cadmium red in equal amounts.  You might have to adjust one color or another to get the gray you think is correct.  I would make sure it is not on the red and more on the blue side.  There is a touch of violet shade on certain feathers though and you can adjust for that.  The dark black is achieved by just mixing a stronger mix of the color.  There are darker shadows under some of the feathers ....take note!  This is the fun part!  Any feathers you missed going around that are white, you can put in with some gouache.  The beak is very hard to explain how to paint.  I used raw sienna in the darker areas and used a dark to get the blacker areas using burnt sienna and ultramarine blue.  Be careful to keep the highlighted areas of the beak white.  You will have to zoom to get the details.  The eye is also hard to explain.  Zoom in and you will notice the eye is yellow ochre with some dark running through it.  

The legs I did with raw sienna, ultramarine blue and quinacridone red mixed to get a dark, but also used raw sienna separate where it was highlighted.  There is a light side.....zoom and you will see it.

Final details I added some white gouache to pull up some white feathers on the back and head area.


Sunday, December 7, 2014

"THAW" - Classwork

We are painting this picture in class.  It is a fairly simple winter scene and the first thing we are painting is the sky.


Wet on wet I painted the sky with a mix of cobalt teal and cerulean blue, concentrating the most color in the center.  Then I painted some low lying clouds while still wet with a violet mix of cerulean and permanent rose.  I carried this below the mountain line.

While the paper was still wet, I added some distant trees with a strong mix of cerulean and maroon perylene.  Don't make it too strong that it is very dark....remember the atmospheric conditions are cloudy and you wouldn't see it so dark, but by keeping less water on your brush you can keep the paint from spreading too much.

There are also some green distant trees that I added with sap green and a little cerulean blue.

I let the paper dry and then added the rest of the background trees, being careful not to get too detailed and let the colors mix.....I wanted it to appear foggy.  The rusty color is alizarin and burnt sienna with a little cobalt in it.  I also used a violet with with the same colors except more cobalt and less burnt sienna.  The darker violet I used ultramarine instead of the cobalt.  The pine trees are sap green with a little cadmium red.  I added some cobalt to shade one side.

Thursday, May 15, 2014

PAINTING THE SKIRT, BASKET AND LEGS

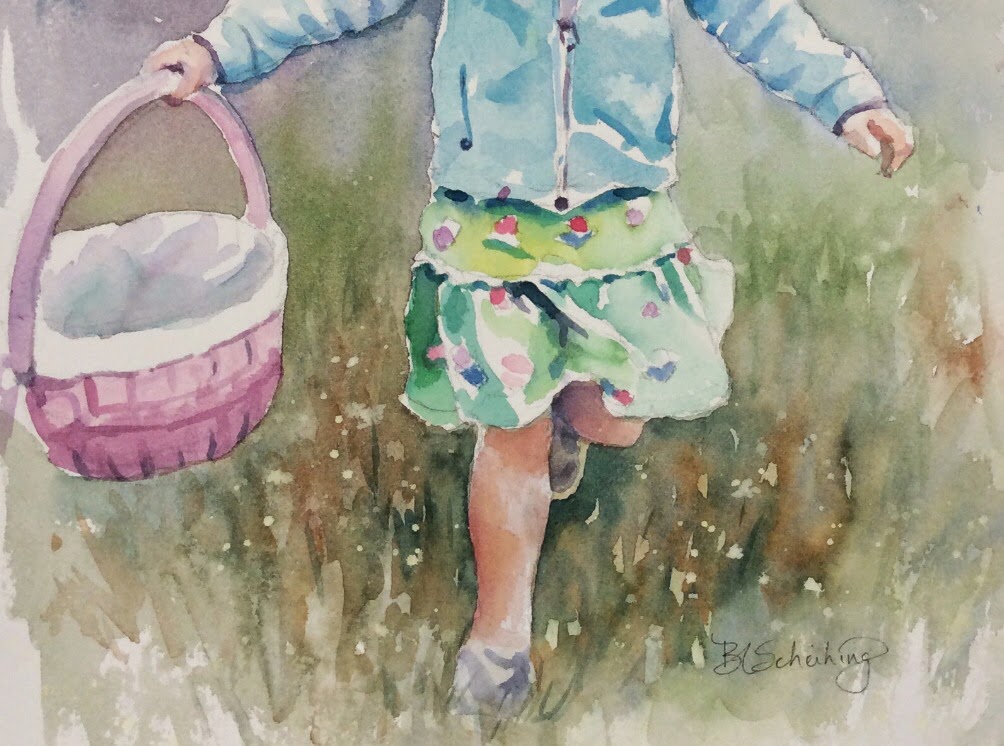
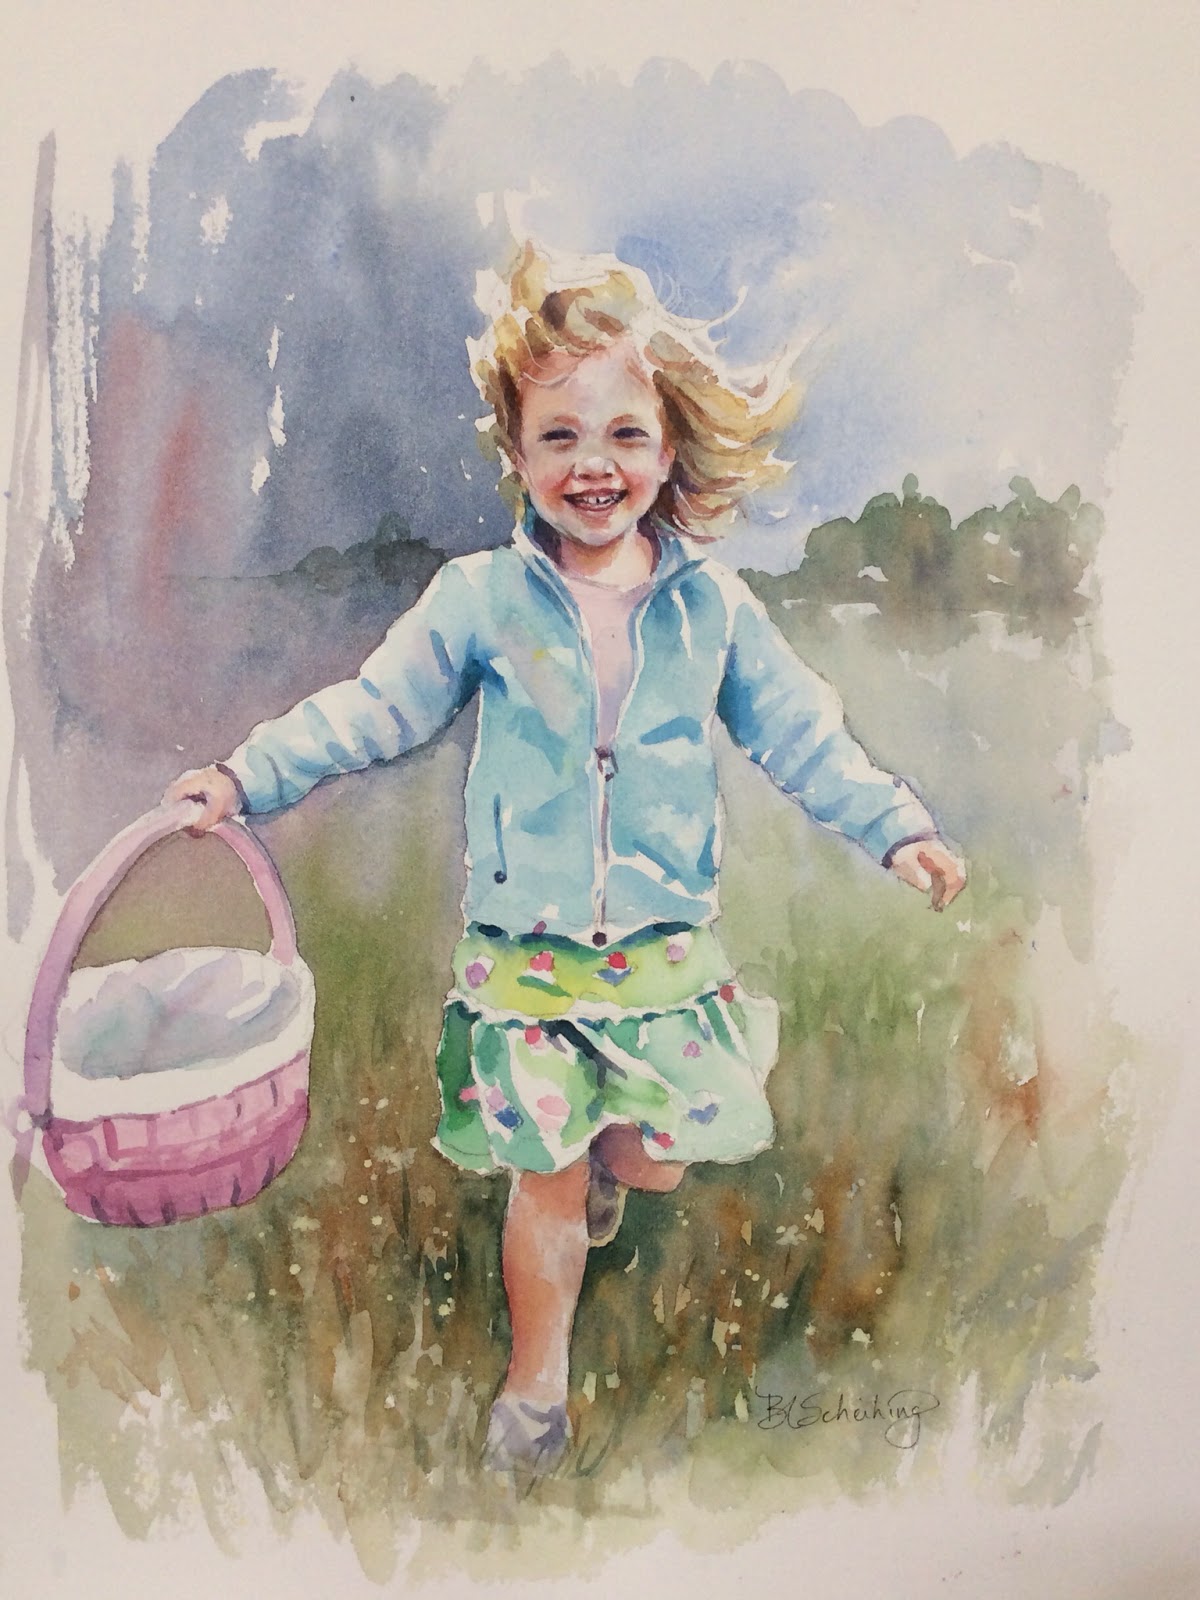
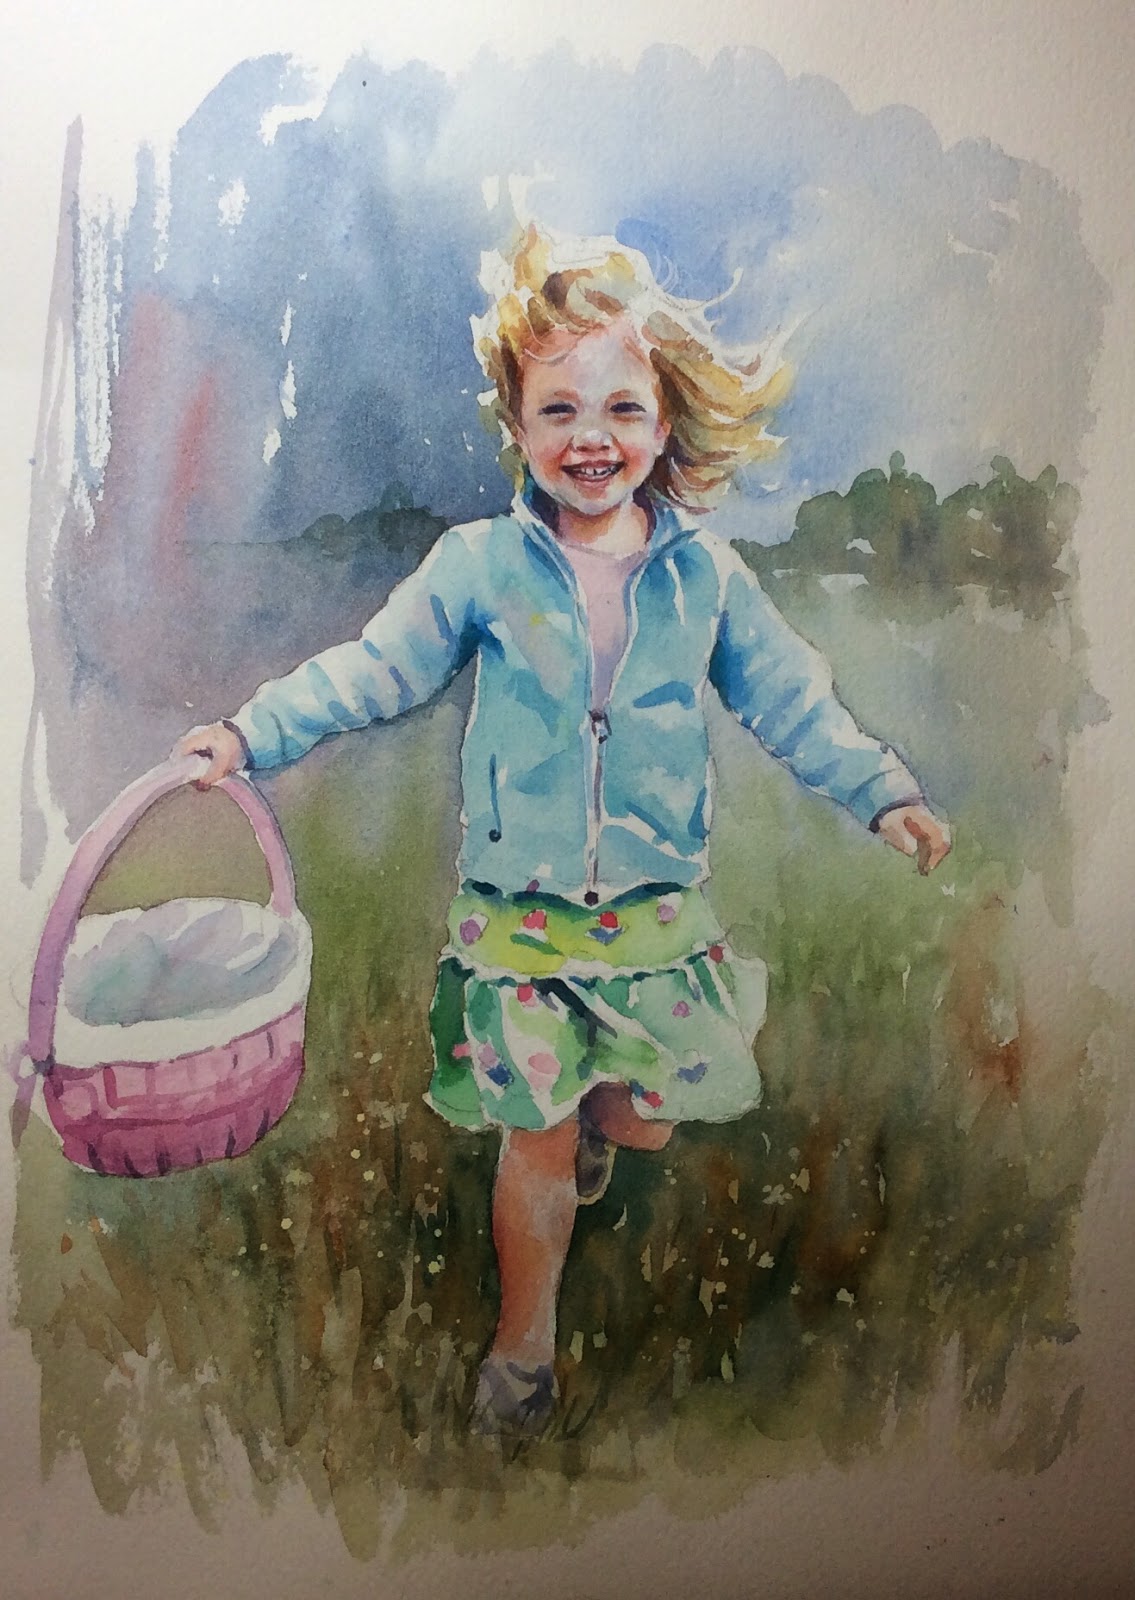
I chose to play down the colors in the clothes as you might notice.  I find that we tend to try to achieve the same color intensity in the clothing when we are doing portraits.  Depending on what you want to focus on, of course, it's best to play down these areas.  The face is where you mostly want your focus to be directed.  If I were to paint the basket the hot pink it is in reality, I immediately shift my focus and things become out of whack.  The skirt is therefore  mostly light in tone except where the folds and creases are and some darker shadowing on the left side. I randomly painted the flowers in her skirt first....very undetailed.  I think you can figure out what colors you can use here.  Then I painted around them to do the skirt and  I used cobalt teal and winsor yellow.  Some areas of the skirt I added more yellow, some I added more teal......all watered down a good amount.  The darker folds of the skirt I added some ultramarine to that mix and I made it slightly stronger (used less water). There is a little scalloped edge separating the top and bottom of the skirt.  I darkened under that scalloped edge.

The basket is pretty straight forward.  I initially painted it a light wash of perm. rose and a tiny bit of cobalt.  The interior of the basket is a little darket violet (added more cobalt), however I added a touch of winsor yellow to it to dull it down.  Not too much.  I even threw in a little cobalt teal to it.  It is VERY light.....don't be heavy handed with it.....remember we are downplaying this area.  After this dries, I made a little heavy mix of the initial violet I used to paint the basket and put in some minute details.....adding a little more cobalt to darken towards the bottom.  You might have to add a little yellow to tone down that violet shadow if you don't already have it in your mix.....don't make that shadowed violet too violety....(my word).

OK....the legs.....they are done the same way as the face.  They have a bit more yellow tone, so add a bit more raw sienna.  The leg that is tucked under though has violet tones in it.  I mixed a violet and put that just under the skirt area. (perm. rose and ultramarine)  I accentuated some of the bone and muscle area by concentrating color in those areas....such as the calf and knee and leaving some white showing.

The shoes are very understated.  They are just a violet with yellow in it to tone it down.  Pick a violet...it will work.

Now that those areas are finished we can darken the face and add background.  I think I forgot to talk about the lips!  All the shadows, facial features that need to be darkened I did.  The lips are alizarin watered down.  Add violet to deepen it toward the edges of her smile.  It's always lighter where the lips get fatter. I ended up putting a little white highlight on the lower lip with gouache.

Here's a closer view of her features.  I darkened the upper eyelids with more of the skin tone.  Put a few more blue in places.  Glazed the skin with raw sienna in areas on the left side of her face, sides of her mouth, cheeks.  Also glazed areas with perm. rose after that dried. The bridge of the nose has a shadow on it.  I used raw sienna, let that dry and used cobalt.  Some of these glazes have to dry in between.  You can't add wet on wet sometimes because the colors will just get lost.  This is not a very large picture so that makes it more difficult.

The background was finished after that.  I decided to put in a row of trees very loosely.  I used sap green and cobalt with burnt sienna in places.  Very light wash.....not a focal point and it's also in the near distance.  I painted it wet on dry but then took some water and brought it down past the horizon line.  Then I darkened the grass area around her feet.  I made it look like there were flowers around by just not painting and negatively painting in some roundish shapes.  I put in sap and cobalt with raw sienna and burnt sienna....all individually running it around on the paper.  You might want to practice that before attempting.  It takes a loose hand.  That's it!!! 

HAIR AND BACKGROUND

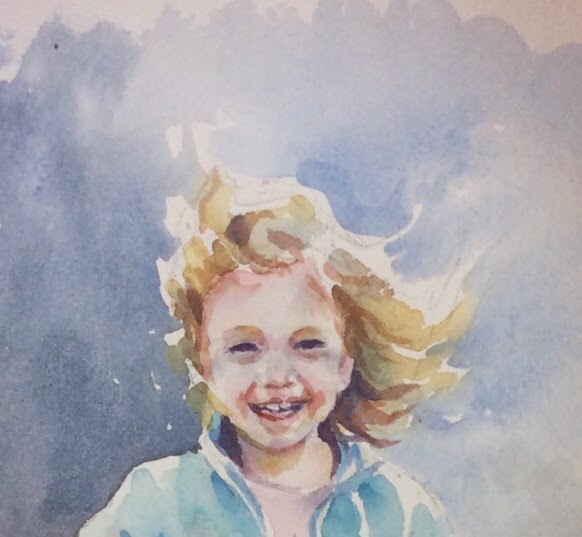
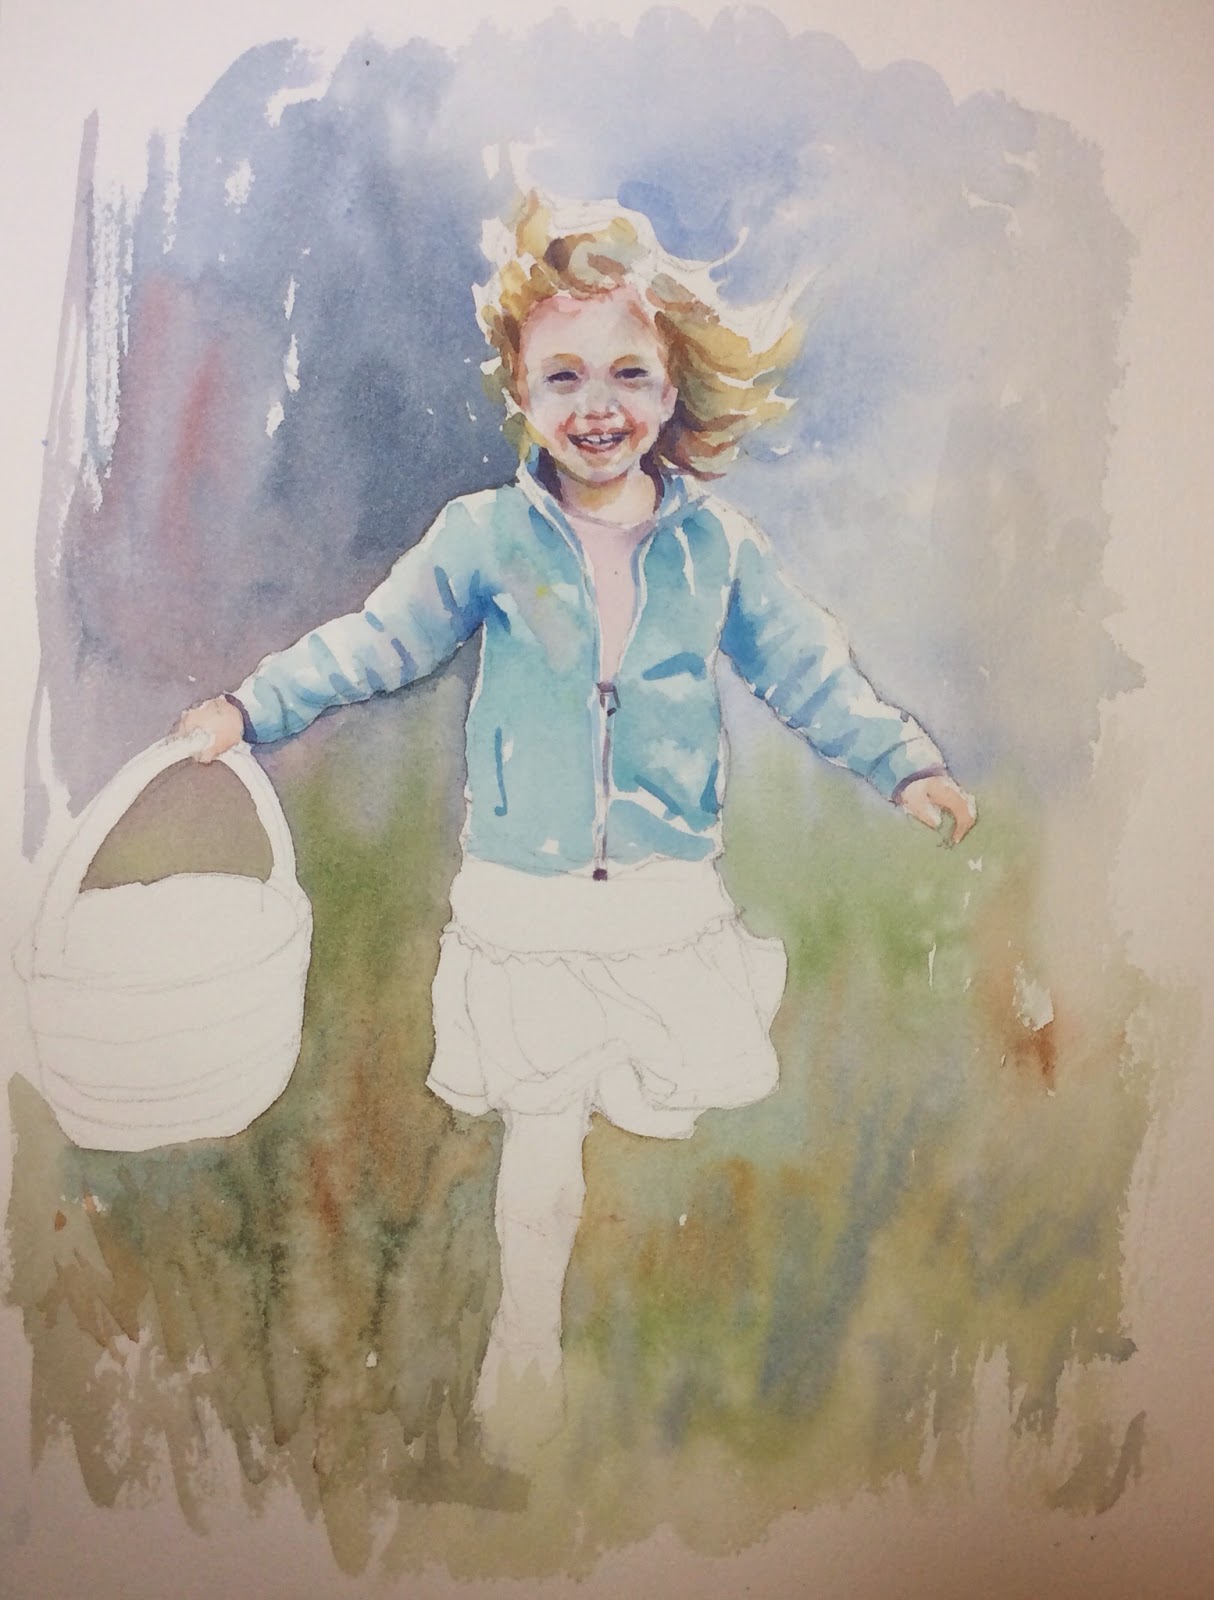
                                                          These are my initial washes.
      This is how it looks after doing the beginning wash.  As I made my way around the girl I started incorporating the land color of sap green and throwing in some burnt sienna and cobalt in areas.  You can see the brush strokes I used.  This is the initial layer.  I darkened it all later.
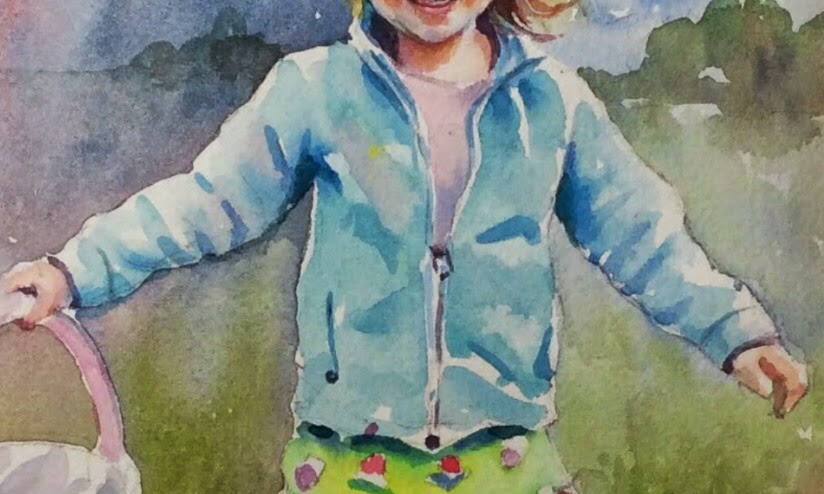
Here's a closeup of the jacket.  The shirt I just used a violet and darkened around the inner edges by adding more blue to the violet.

Tuesday, May 13, 2014

CLOSE UP

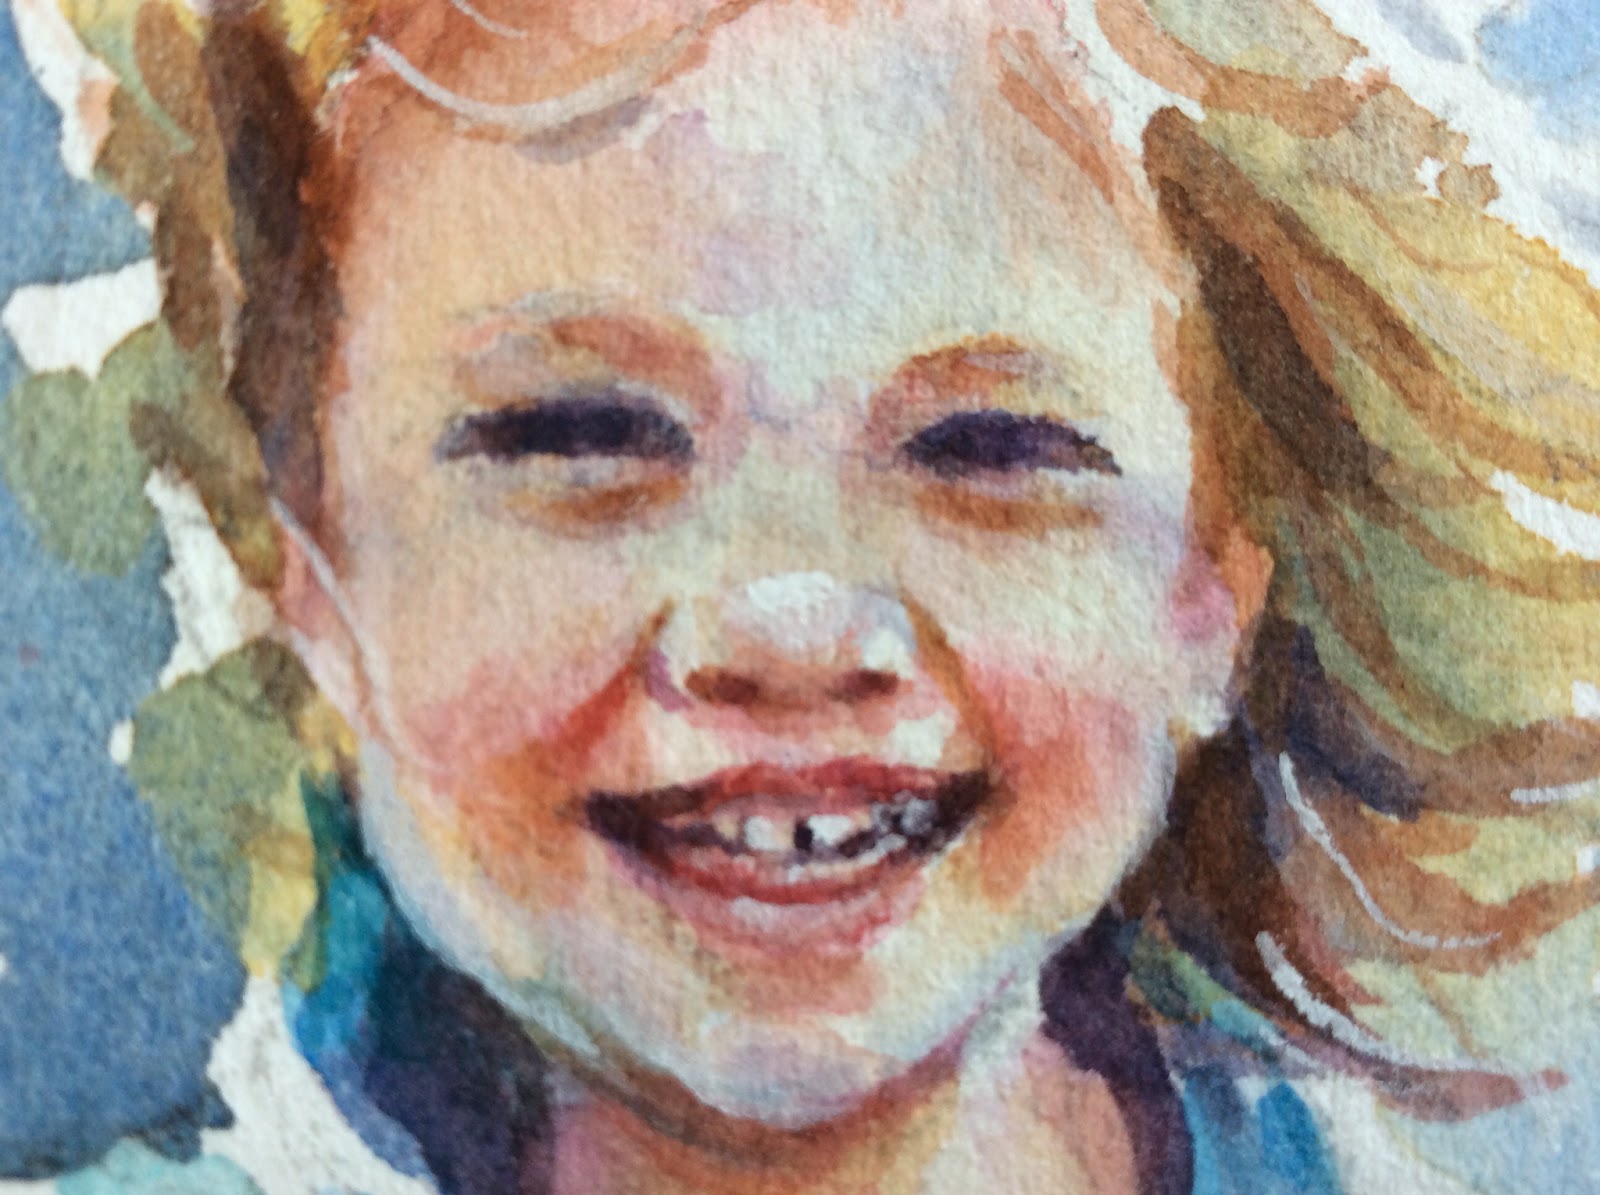
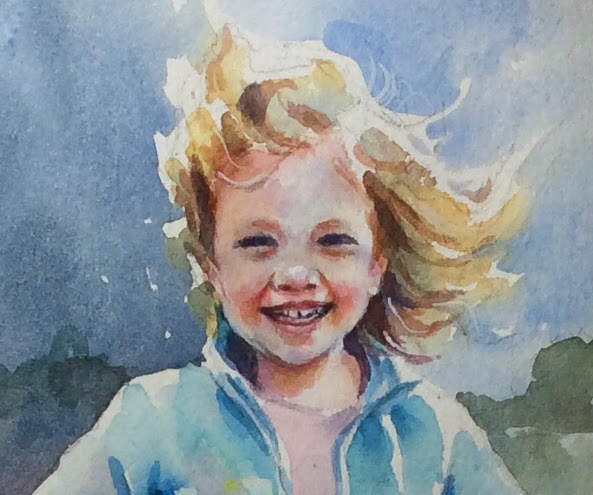
You can get a really close look at the face this way.  The neck I did the same initial color as the face . Then added shadows with a deeper mix of raw sienna and perm. rose with some burnt sienna just under the chin.  Also made a little violet with the perm. rose and cobalt to add on the very left side of the neck  and the very right.   Same dark I used for the eyes and mouth, I used alongside the neck near the jacket.  Once the face and neck were almost done, I wanted to work down to the jack and shirt.  Then I went back and did the background and hair at the same time to incorporate the hair into the background.  This takes some forethought......always think about incorporating parts of your painting into other parts and think it out beforehand and how you are going to approach that the best.

The jacket is thalo blue diluted quite a bit.  The darker shadowed areas of the jacket like the creases and under the arms I added some raw sienna to it.  There are some pink and violet tones in it and I put some perm. rose in spots.  The same dark I used for the eyes, I used watered down in the dark shadowed areas like the dark between the cuff and the hand, parts of the zipper.

"ON THE HUNT"

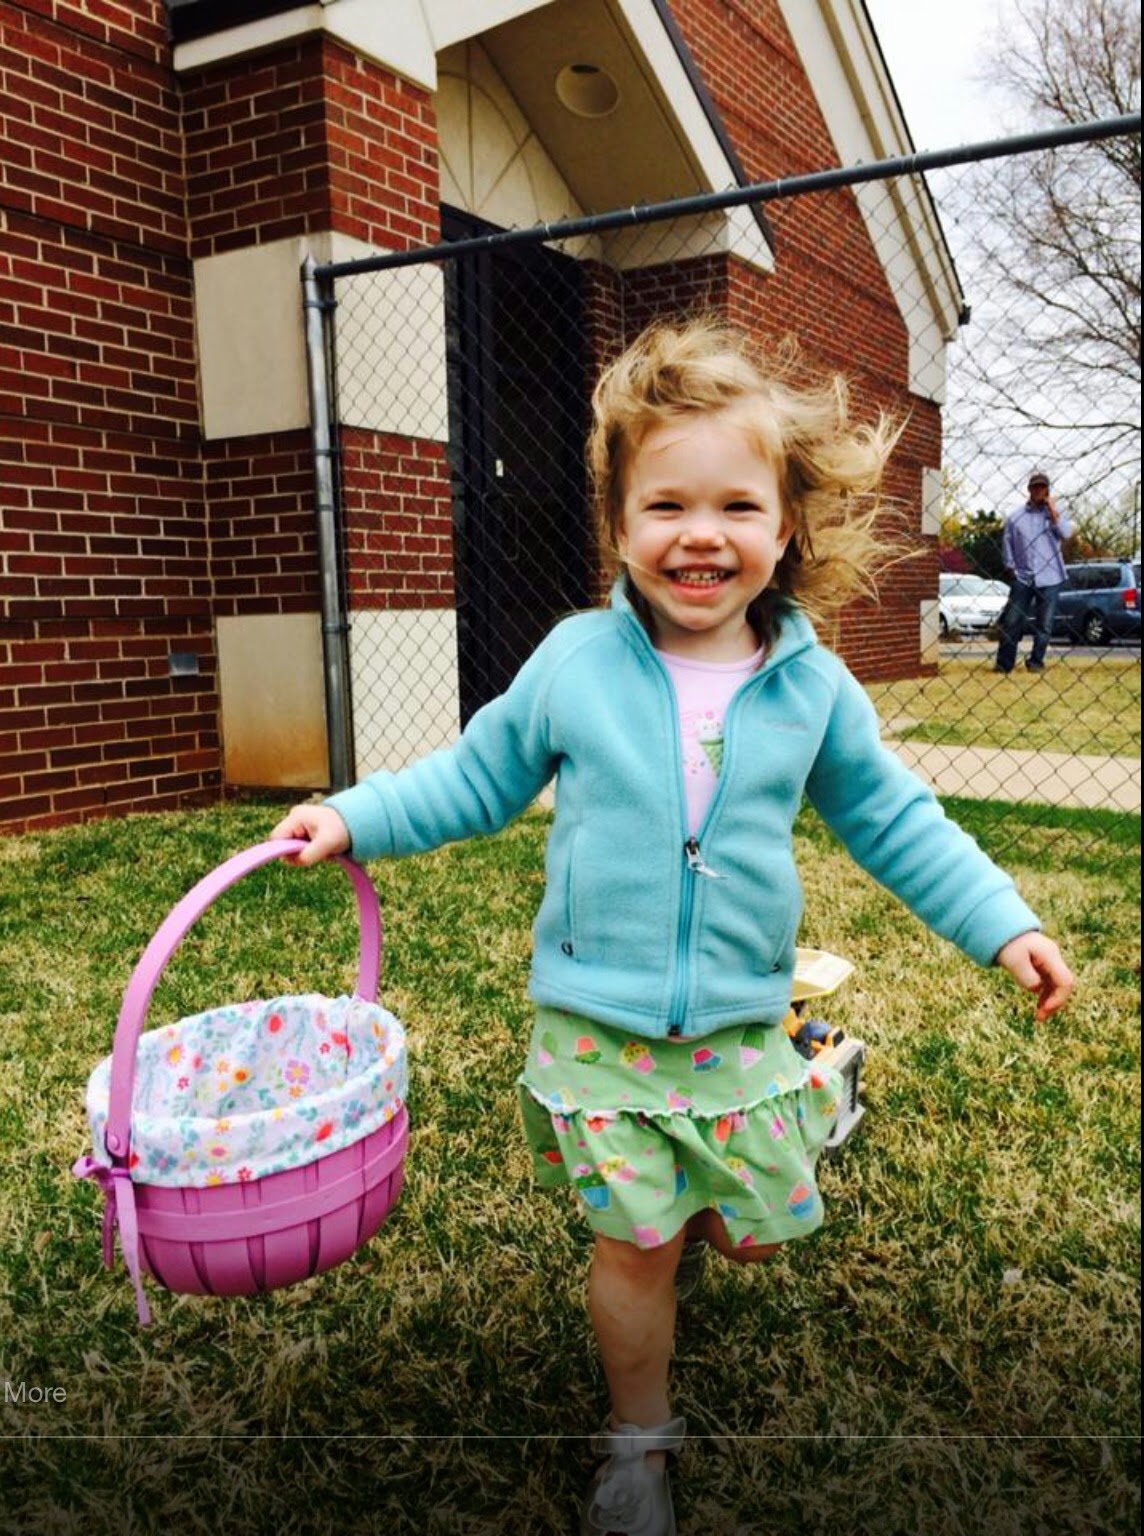
I love the picture that my husband's cousin's daughter took of her daughter at an Easter egg hunt and knew I had to paint it.  It's not my photo, but I thought it would be a good project for class and I got permission to use it.


Here is the photo.


I started painting her face.  The 3 colors I used for her skin tone is permanent rose, raw sienna, and cobalt blue. I mainly mixed the perm. rose and raw sienna until I was happy with the color.  Some areas of her face are more yellow, some more pink.  The cobalt was used for shadow areas on her forehead and lower jaw.  I kept white highlights on the right side of her face near her eye.   Letting this dry I added crease lines. Be careful not to add blue in the crease lines of her mouth or under eyes.  Especially on children, this makes them look older. The crease lines should be a deeper pink with a little cobalt added to the perm. rose.  You can now paint some rose on the cheeks.  I glazed over the face where I felt it needed more yellow tones later.  It's not necessary to totally complete the face.  I did put in the eyebrows with  a light color of burnt sienna, perm. rose and raw sienna.  They are not painted all the way across, just halfway from the inner corner.
Working on the mouth and eyes, I used the same colors to get the dark.  The eyes are little slits.  I used ultramarine blue,  burnt sienna and a little perm. rose.  That color I used for the dark corners of inside the mouth and around some of the teeth.  Don't describe every tooth!  Just a few.