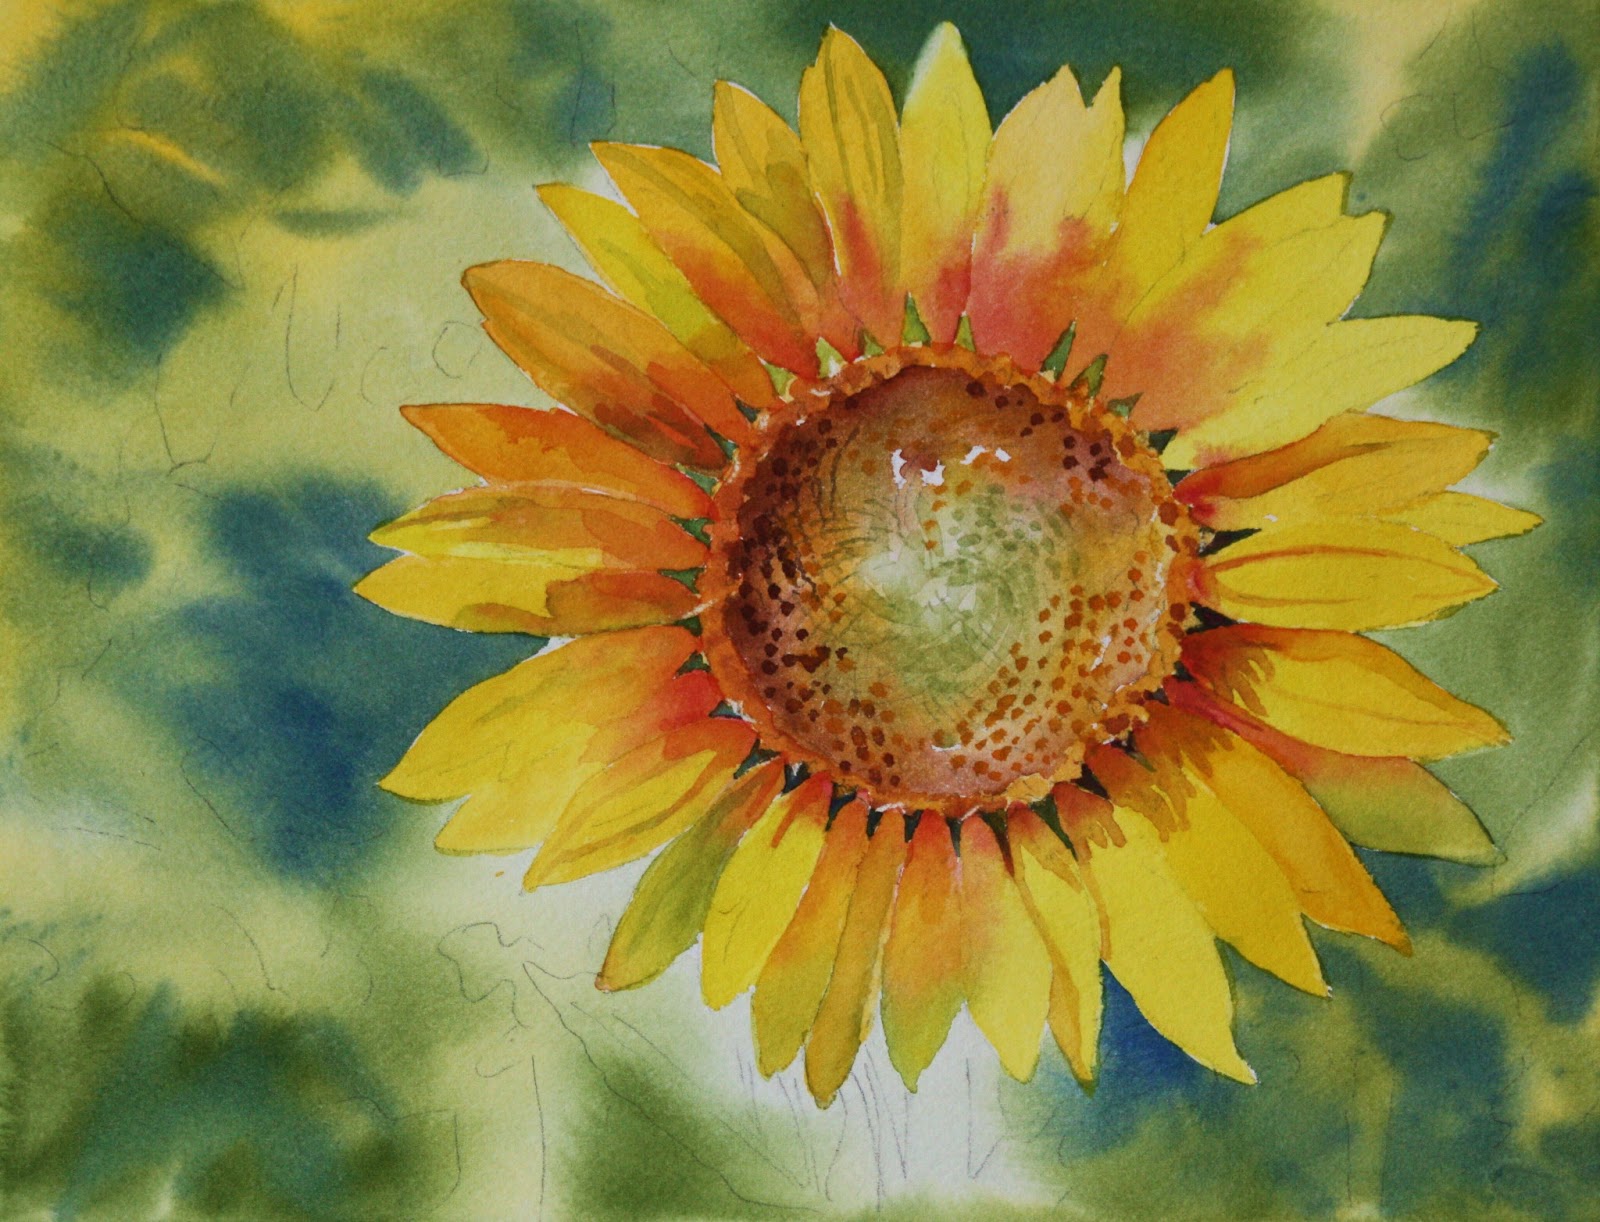
| This is the first step, or maybe I should say many steps later than the first step. I forgot to take photos of the progress.....guess I got into to it too much. I have to say I almost like this painting better than the finished one. It's more simplified and fresh looking......guess I need to know when to stop! I started by masking out the petals with masking fluid just halfway. Then I could put the background in easily. I painted wet on wet with new gamboge sporadically. Then I used sap green sporadically making sure that the yellow I just put down shows through in places. I used ultramarine blue in places also where I wanted dark areas. After that dried, I took off the masking. Then proceeded to paint the petals.....some with new gamboge, others with winsor yellow. I used permanent rose on petal bases while still wet to have a blended effect. I then worked on the center. I wet it first then dropped in new gamboge then sap green around the center, being carefl to leave some white in the center. You can always blot it you cover it up. Then while wet I added burnt sienna around the edges. When that dries I painted the area around the edge of the center with new gamboge and burnt sienna in places. The petal shadows I put sap green on and just intensified the areas of permanent rose with some burnt sienna and perm. rose mixed together. Those are all the colors I used throughout the painting......by looking at the finished painting you can see how to do the remainder. |
|
|