Monday, November 19, 2012

WATERMILL AT EASTERN

This is a well known sight at Eastern University - a very picturesque college campus that my daughter Emily attended.  It was the day of her graduation in May and it was a bright sunny morning.  Below is how I painted it.  (I am going to take another picture of this as I took it at night and don't like the tones of green...they are not too correct....the other photos are more accurate)
   

 I started with some of the background because I wanted to establish some darks and light greens.  I used new gamboge and cobalt blue for the greens in different ratios.  More yellow in some and more blue in others.  I intermingled the two contrasting green in the distant bushes. 


 I didn't make the background grasses too dark at first but put an initial layer of the greens and did some drybrush in the foreground to indicate some light areas in the grass.  Careful not to get too detailed and just indicated some grass near the edges and along the lilies.  I painted the watermill with an initial layer of yellow ochre and then some areas mixed with cobalt blue to make a dull green.  Burnt sienna was used in some stones on the building and the darks were made with ultramarine blue and burnt sienna.  The building is in shadow and I glazed it later on.  The waterwheel itself is dark....I used ultramarine and alizarin with burnt sienna.  I tried to indicate water coming down and I ended up scaping some highlights.  The roof is kind of tricky and I don't know if I like the results.  I saw lots of violets and clay colors in the photo and tried to get those colors.  I used permanent rose and burnt sienna but I would probably glaze it first with a violet and then go back with the rose....if I were to do it over.  The violet I would use cobalt blue and perm. rose.  It's bright, but would eventually tone it down.

The stone walls have an initial wash of violet made with cobalt blue, permanent rose and burnt sienna to tone it down. I played with the ratio of blue and rose.  I also used yellow ochre and cobalt within the stones....especially on the right wall.  I mixed violet in with it a lot.  I also just took some yellow ochre and used that in places. I used some thalo blue (or winsor blue green shade) mixed with a little burnt sienna (again to tone it down) to do some shadows in the stone and along the upper ledge area.  I played with the colors a lot and didn't feel I got it right at this point....went back to it later. 
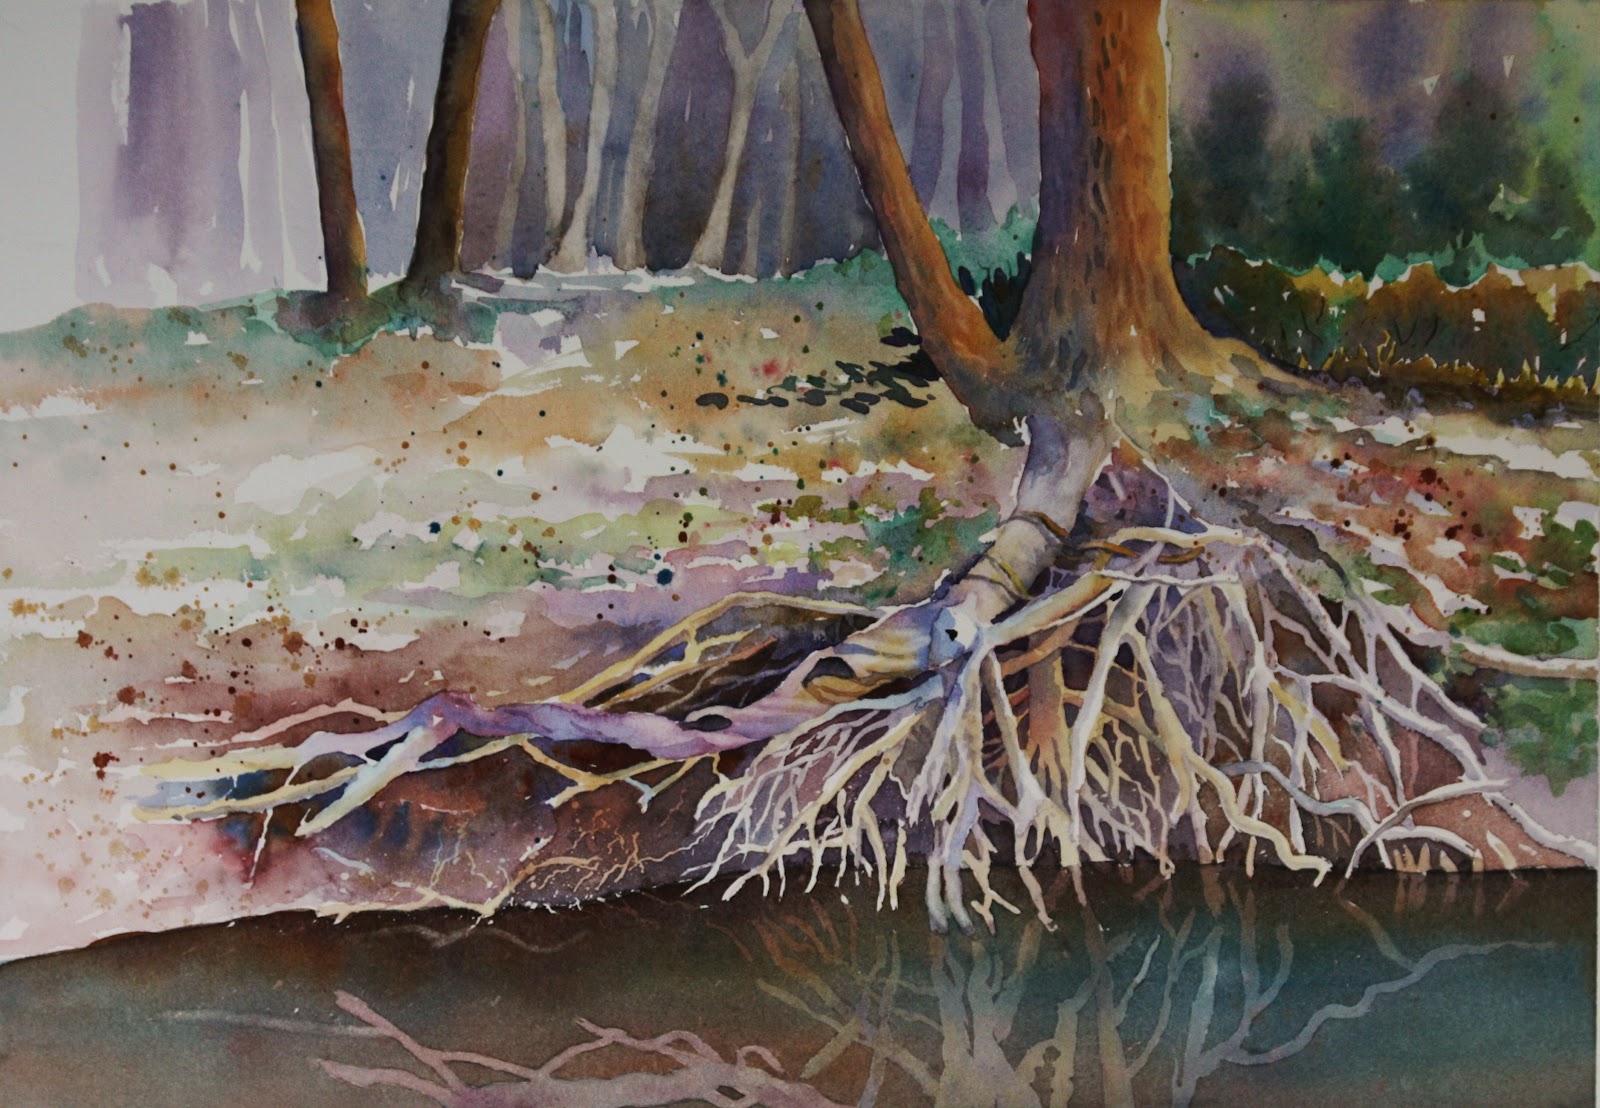
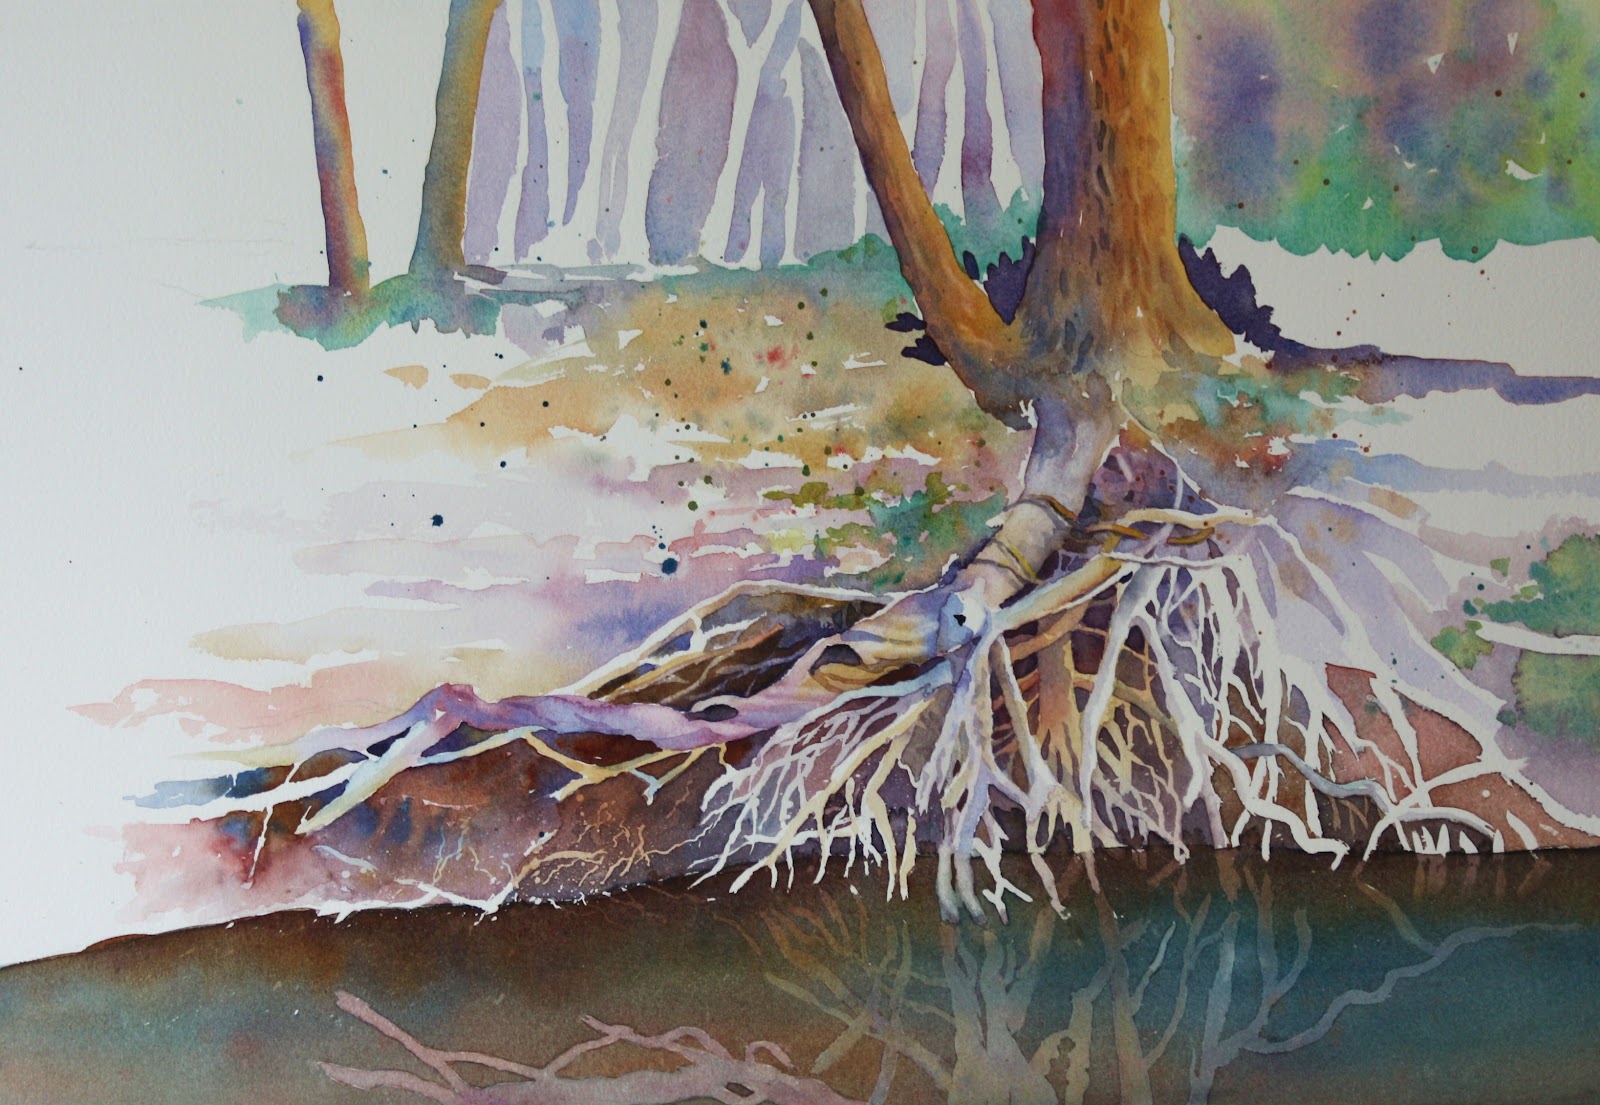
I put shadows on the birch trees with cobalt blue and a little thalo here and there.  Some violet with cobalt and perm. rose was dropped in on the left birch near the middle.  I made the grasses darker in the foreground and background by using more cobalt in the mix with new gamboge.  It seemed to make it look more shadowed.  I was careful to let some of the other green I initially laid down to show in places in the foreground. The background trees were complicated..... I didn't want them to overpower everything and I wanted it to look like light was coming through.  I guess I achieved that....comments are welcomed of course!  I put in regular trees in the background.  I used a violet mix of alizarin crimson and cobalt to paint the trees initially then shaded them on the right side with a darker mix of alizarin and ultramarine with some burnt sienna.  I went back and glazed over the mill with thalo blue ......lightly of course since it is such a strong color.  I glazed over some of the stone with it as well in the shadowed areas.  The top of the stone walls on the right were glazed with thalo as well.  Well, I think I covered everything.....if you have any questions, please put it in the comments and I'll be glad to answer them!


Thursday, November 15, 2012

"FALLEN LEAVES"


I was inspired to paint the leaves because it's autumn!  I liked the composition of my photo, and I liked the colors of course.  I have included below how I arrived at the finished painting.


I started by masking out only the main veins down each leaf and just some of the outer veins....not all.  Then I did a preliminary wet-on-wet wash with a large 2" hake brush.  Three colors I used are winsor yellow, a violet mixed by permanent rose and cobalt blue, and a green mixed by winsor yellow and cobalt blue.  If you look at the location of the colors you notice I intentionally put them where those colors of leaves are in the picture.  I made sure I did not overlap too much of the yellow and violet because that would muddy the colors since they are complements to each other.


After the wash dried, I started painting in the green leaves.  I started by laying down winsor yellow and then laying cobalt blue on top in areas I noticed them to be in the photo.  I added some thalo (winsor blue green shade) very lightly in some areas I noticed a brighter green.  There are noticeable spots and darker edges on the leaves so I added them while the leaves were still wet.  I used a very concentrated (less water) amount of paint in violet (perm. rose and ultramarine blue) plus burnt sienna. 

I started adding in the darks at this point.  My reasoning is that I want to establish how dark my darkest darks should be before adding the darker leaves. (Too many dark words!!!)  Sometimes if you don't do this you can get into trouble and your darks can become too dark because you've made your midtones too dark.  Oh my.  I used none other than VIOLET, of course, and some blues to do the deeper background...you thought I was going to say "dark" again didn't you!  I used ultramarine and perm. alizarin crimson with a touch of burnt sienna to get the darker violet and used some cobalt instead to get lighter tones.  I dropped cobalt in here and there to achieve a little light effect because I didn't want all my darks to be the same.  Other areas I added a little more alizarin to the violet to again add some variation, but I also saw that in the picture.  I added the red leaf and painted it first with winsor yellow and then dropped in cadmium red, some violet (cobalt and permanent rose) and some green (cobalt and winsor yellow).  The yellow leaf in the lower right corner started also with the yellow and I just dropped in violet and some green to actually try to muddy it up a little.


Finally I painted the remaining leaves using many of the same colors.  The leaf in the upper right corner which is more brown, I used a mix of burnt sienna, cobalt blue, permanent rose and a little bit of yellow.  Glazing here and there with some violet along the edges to get a shadowed effect.  The stem of the branch is not brown!  It's VIOLET, of course, so I used some cobalt and alizarin and did much tweeking to get it right by dropping in come cobalt directly and scrubbing out some highlights then dropping in more cobalt til I got it right.  The veins I had to fix a little with the paint I used for the leaves to straighten them out and make them a little smaller here and there.  Sometimes I can't get the masking fluid on quite right!  Adjustments can be made if done carefully.  I used a semi-wet brush to just scrub out extra veins...the paint will lift easily and you do need to blot.  Last but not least SPATTER.....I love spatter.  Maybe too much, so I've been told!!!  Leaves do have many spots so I added more!  Why not.....I used a violety brown for that.  If you have any questions, just leave it in the comment section and I will gladly try to answer them......have fun!  I added the original photo at the end so you can see it.....it's kind of blurry...sorry, bad photographer!

        
                Here's the photo......of course I accentuated some of the colors, but that's artistic license!!

Monday, October 15, 2012

CAPE COD CLAMMER

Did this painting today for a class I'm taking.  What's nice is that I get to sit and have it critiqued on Wednesday.  I'm not sure I like it.  I feel like I didn't quite capture the early morning light.....I guess we'll find out!

Friday, October 12, 2012

THE PROCESS

 Getting started, I first wet the paper and put in broad strokes of color with my cat's tongue brush of cobalt blue and ultramarine on the top, then burnt sienna on the bottom and let it drip down.  I while it was in the process of drying I laid in the shapes of the grapes and leaves and trunk not worrying about bleeding or blending.  I was actually trying to make it do that and wished it would have done it a little more.  I have to confess I had the space heater on because my room was cold and I just told my class not to have that on while painting because it dries the paper too fast!  Should've listened to myself!
 I layered with deeper color and put in shadowed areas.  Colors I used for the grapes were ultramarine blue, burnt sienna and a touch of perm. rose or perm. alizarin in the darker ones.  The leaves I used ultramarine blue and winsor yellow.....I added very little burnt sienna to areas I thought needed toning down.  The trunk I used yellow ochre on the left side and ultramarine blue and burnt sienna on the right shadowed side.  I then dropped in a violet mix down the center and touched in some alizarin..
Here I just did more of the same......concentrating on beefing up the values.  It  also decided the background needed more also so I made it darker on the right on the trunk and put some blues under the grapes to make the distant grapes disappear more.  I spattered also......I'm a little too addicted to spattering.....and I probably overdid that AGAIN.  Once I start flinging the paint I can't stop.
In the finished painting, I decided the top area was too much so I cropped it.  I also didn't like how I painted that stem on top so I took a big 2" brush and laid in some winsor yellow and dropped in cobalt and ultramarine to  mush it together....sort of obliterating the top left side.....I guess it was successful, but have my doubts....I discovered halfway through the painting why I was having so much trouble getting the paint to move and blend.....I had filled my ultramarine blue well up with student grade paint while in class because I ran out of my professional grade paint.....and low and behold I was totally frustrated.  I had also used that to mix my greens and everything else....I couldn't figure out what was wrong ......just a true test of using student grade is NOT beneficial.  When I switched it was a WORLD of difference!  Only wished I had noticed it sooner. 

CALIFORNIA GRAPES


It's class time again and we are doing grapes after my trip to Sonoma County California.  How luscious these grapes were and very inspiring.  I loved the different tones of blues with the inclusion of orange and pink.  Made me want to paint them and bring them to the class.  We worked with different thumbnail sketches posted below to determine the best way to plan our final painting.


It's so good to do thumbnail paintings.....it helps with having a more definite idea of where you want to go.  That doesn't necessarily mean you aren't going to change things along the way while you're painting but it does help with placement and value.  The thing about watercolor is that it has that unexpected quality and you should always leave room for creative additions that either happen on purpose or not!  That's the beauty of it.

Monday, September 24, 2012

Mary White Workshop - Cape Cod Creative Arts Center


I just got back from attending a Mary Whyte workshop in Cape Cod....it was the best workshop I've ever been to as far as learning from and viewing  an amazing talent.  I can say I was very blessed to be there.  We had a great one on one time session and round table discussions as well as demonstrations.  We painted figures, still life and went out to do some plein air landscape painting also. We covered a lot of areas in 5 days which was very tiring for me, can't imagine how tiring it was for her.  She says she's not doing anymore 5 day workshops, so I'm so glad I got to be at her last one.  I bought her book "Working South" which is an absolutely beautiful book that not only has great stories that she so eloquently wrote, but the artwork that makes up the series is gorgeous.  She even signed my copy....:)  I'm a groupy now!  I plan on seeing the "Working South" Exhibition that is touring the southern states in Newport News, VA next spring.....here is the info:

April 6–July 7, 2013
Penninsula Fine Arts Center
Newport News, Virginia
www.pfac-va.org

This is the last part of the tour, so if you want to see these paintings, and I suggest you do, then make sure you catch it here.....I know I will.  I also suggest you buy her books....they are wonderful.  I can't say enough good things about her, between her faith, her work and her accomplishments, she's someone I'm proud to call a mentor.


Monday, July 16, 2012

"Miss Maryland Mallard"


             *If you click on the picture then right click on the picture......click "view" then you can zoom in.

Just finished "Miss Maryland Mallard".....I decided I love painting water and I love painting animals....so what better than a duck in water?  I spent a wonderful day with daughter Emily in downtown Annapolis and took a bunch of photos of the, what seemed to be, plain 'ol brown ducks swimming around "Ego Alley".  If you don't know what "Ego Alley" is, it is an area of the bay that juts into the town of Annapolis and supposedly if you want to show off your beautiful boat for all to see, then you float into "Ego Alley".  The water that day had a hint of violet and amazingly those plain brown ducks looked so luminous and colorful.  The different shades of browns captured my eyes.....and I'm a big fan of the color brown....just look at my wardrobe!


                               Oh my gosh, I DO look like a mallard!!


Anyway.....I love the colors that brown can contain......violets, blues, pinks and yellows......and she sure is strutting her stuff......the duck I mean....not me.  Reminded me of the runway of a beauty contest.....hence the name "Miss Maryland Mallard".  I had fun....hope to do more.....God willing of course!  I am making prints of this painting for $75.00 each, if you're interested, contact me.


Thursday, June 14, 2012

"Yardsale Treasures" completed


*If you click on the picture then right click on the picture......click "view" then you can zoom in.

Completed the painting and I did accomplish what I initially wanted to portray in the picture.  I kept the left side lighter so the eye would linger longer on the right yet I added enough contrast on the left side to create interest....hopefully.  I'm happy with how the figures came out.....not sure about the grasses....I had a hard time figuring where it would end with the sky and not sure that part was too successful.  I'm entering it into the BWS Mid-Atlantic show......I'm not expecting anything but thought I'd give it a try.  Never say never I usually say!!

Saturday, June 2, 2012

"Yardsale Treasures" Progress


*If you click on the picture then right click on the picture......click "view" then you can zoom in.

I made a lot of progress yesterday....painted for 10 hours!  It took a long time to paint all the clothing!  Lots of folds but I enjoy that much more than the background.  I didn't want to overpower any of them but I wanted more focus to be on the one with the blue suite.  Got some more to paint today but can't work on it for as long...we'll see how far I get.  The woman with the suit has a pin on her lapel but I'm not sure whether to put it in....I just might.

Thursday, May 31, 2012

"Yardsale Treasures"


So I've finally started the painting I made a sketch of and it was really difficult to do the background.  This is my second attempt and I like it a lot better than the other one so that's a good start.  I'm happy with it so far and I'd love comments or opinions if you want to critique it....always could use a second set of eyes!!

Thursday, May 17, 2012

Start of a new painting

Today I'm working on a rough sketch of a painting I'd like to start.  My mother-in-law had a yard sale that she had because she was moving from her home that she lived in for a very long time.  I was struck that her friends who she has had for a very long time were there, and it reminded me of the treasures found in friendship and not in the stuff we collect over the years.  I want that to be portrayed in this piece and I'm hoping I can do it with that feeling in a larger size.  This is only about 7 x 9 and I like how it came out with a spontaneous feel  mostly because I painted it without drawing too much.  Hopefully I can maintain the looseness.....it's so hard to do.

Wednesday, May 16, 2012

ARThouse Gallery Winner Results

www.susanmurphy.blogspot.com

First Place for "Roots"

Well, I'm very excited that I finally won a first place prize at Susan Murphy's ARThouse Gallery.  It came completely by surprise, and I wasn't expecting to win anything at all for that matter.  All I know is that I thoroughly enjoyed painting this picture and I come to realize that that shows through in your work no matter what you do!  Sometimes you look at a painting too much and you can't see why someone else likes it....that's probably the case here.  Another realization is to put it away for awhile and look at it with fresh eyes.....really helps a lot!  Brenda Kidera was the juror for the exhibition and I looked at her website and enjoyed her paintings very much.  I see some similarities in her painting style with mine....could be why she chose my painting because there were SO many good ones at the show.  I know she had a hard time choosing one.  Well, I'm very humbled and grateful for the award.....I look forward to working even harder....this gives me the incentive!!!  I'm going to try to post her comments and the other painting....I'm not so good on the computer but will give it a try.

Saturday, April 28, 2012

Added More

I added more to the picture....I don't think it's finished although I feel like it's getting too busy.  Will have to think about this for awhile.....might put it away and come back to it another time....good to do sometimes!

Tuesday, April 24, 2012

Currently working on this painting.  I am always fascinated by tree roots and how they grow into the water like they are so thirsty.  I'm trying to play with color and the very subtle colors I want to exaggerate.....makes painting interesting for me.  It's not been the easiest picture to paint, although it is so fun working with this palette.  I'm using some raw sienna, antwerp blue and burnt sienna, viridian and violets made with cobalt blue or ultramarine blue and brown madder.  Maybe I'm using too many colors in one painting, but I love how they all work together.

Wednesday, April 18, 2012

Trip to the Metropolitan Museum of Art

I got to go to NYC and visit the Metropolitan Museum of Art.  Winslow Homer is my favorite I've decided.  The way he captures the light is amazing and he works in watercolor also, but they didn't have any at the Met.  I also love his painting called "The Campfire".  The way he paints the fire and the sparks is so beautiful.  I recommend going to the "American Wing" if you go.

Wednesday, April 4, 2012

"Yellow Pepper in the Sun"

**If you click on the picture and then right click on it, click "view image" and you can magnify the image.

We started the spring semester in watercolor class today and I decided to do a short study on shadows and how to get the wash smooth and free of lines.  I picked a very large shadow just so it would be hard!

We started painting the pepper wet on dry and used New Gamboge at the top.  The red highlights were done with a mix of Cadmium Red and Winsor Yellow.  Make the mix deep enough so it won't dilute too much with the New Gamboge.  We also added green highlights with Cobalt Blue and Winsor Yellow.  Again don't add too much yellow so as to make it too weak in color.  Basically the pepper is a variegated wash, working your way down the pepper.  After it dries if the color is too weak, wash over the whole pepper with New Gamboge, covering the red and green areas too.  If those red and green areas need to be increased in color or if it isn't blended properly you may also add those in again too.  Be careful not to overlap the reds and greens or mix them together too much because you will create a muddy pepper because they are complementary colors.

Next the stem.  Remember to keep the white highlight on it.  The shadow area is a mix of Ultramarine Blue and New Gamboge....keeping it a little on the blue side.  Use a little Winsor Yellow in the light areas and blend it a little with the green.

The shadow is achieved with Cobalt Blue.  I added quite a bit of reflected light from the pepper into the shadow mainly because that was what was actually there.  It was a very bright day.  Notice how blue the shadow is....it was really like that too.  A lot of light from the sky reflecting into it.  I started wet on dry under the pepper with New Gamboge, then added Permanent Rose under that in order to transition into the Cobalt Blue without it becoming green....(a little trick).  Then continue down with the blue all the way.  After the shadow dries if it shows some lines and isn't smooth, which mine did, I wet the whole area with water and redid the blue area (wet on wet).  It completely smoothed it out.  You may also redo the yellow/rose area if yours is too weak.

The whole pepper got a scubbing with a scrub brush, highlighting the light areas and it's done!

Friday, March 23, 2012

"Roots"

New painting I entered into the AWC show at the West Annapolis Gallery.